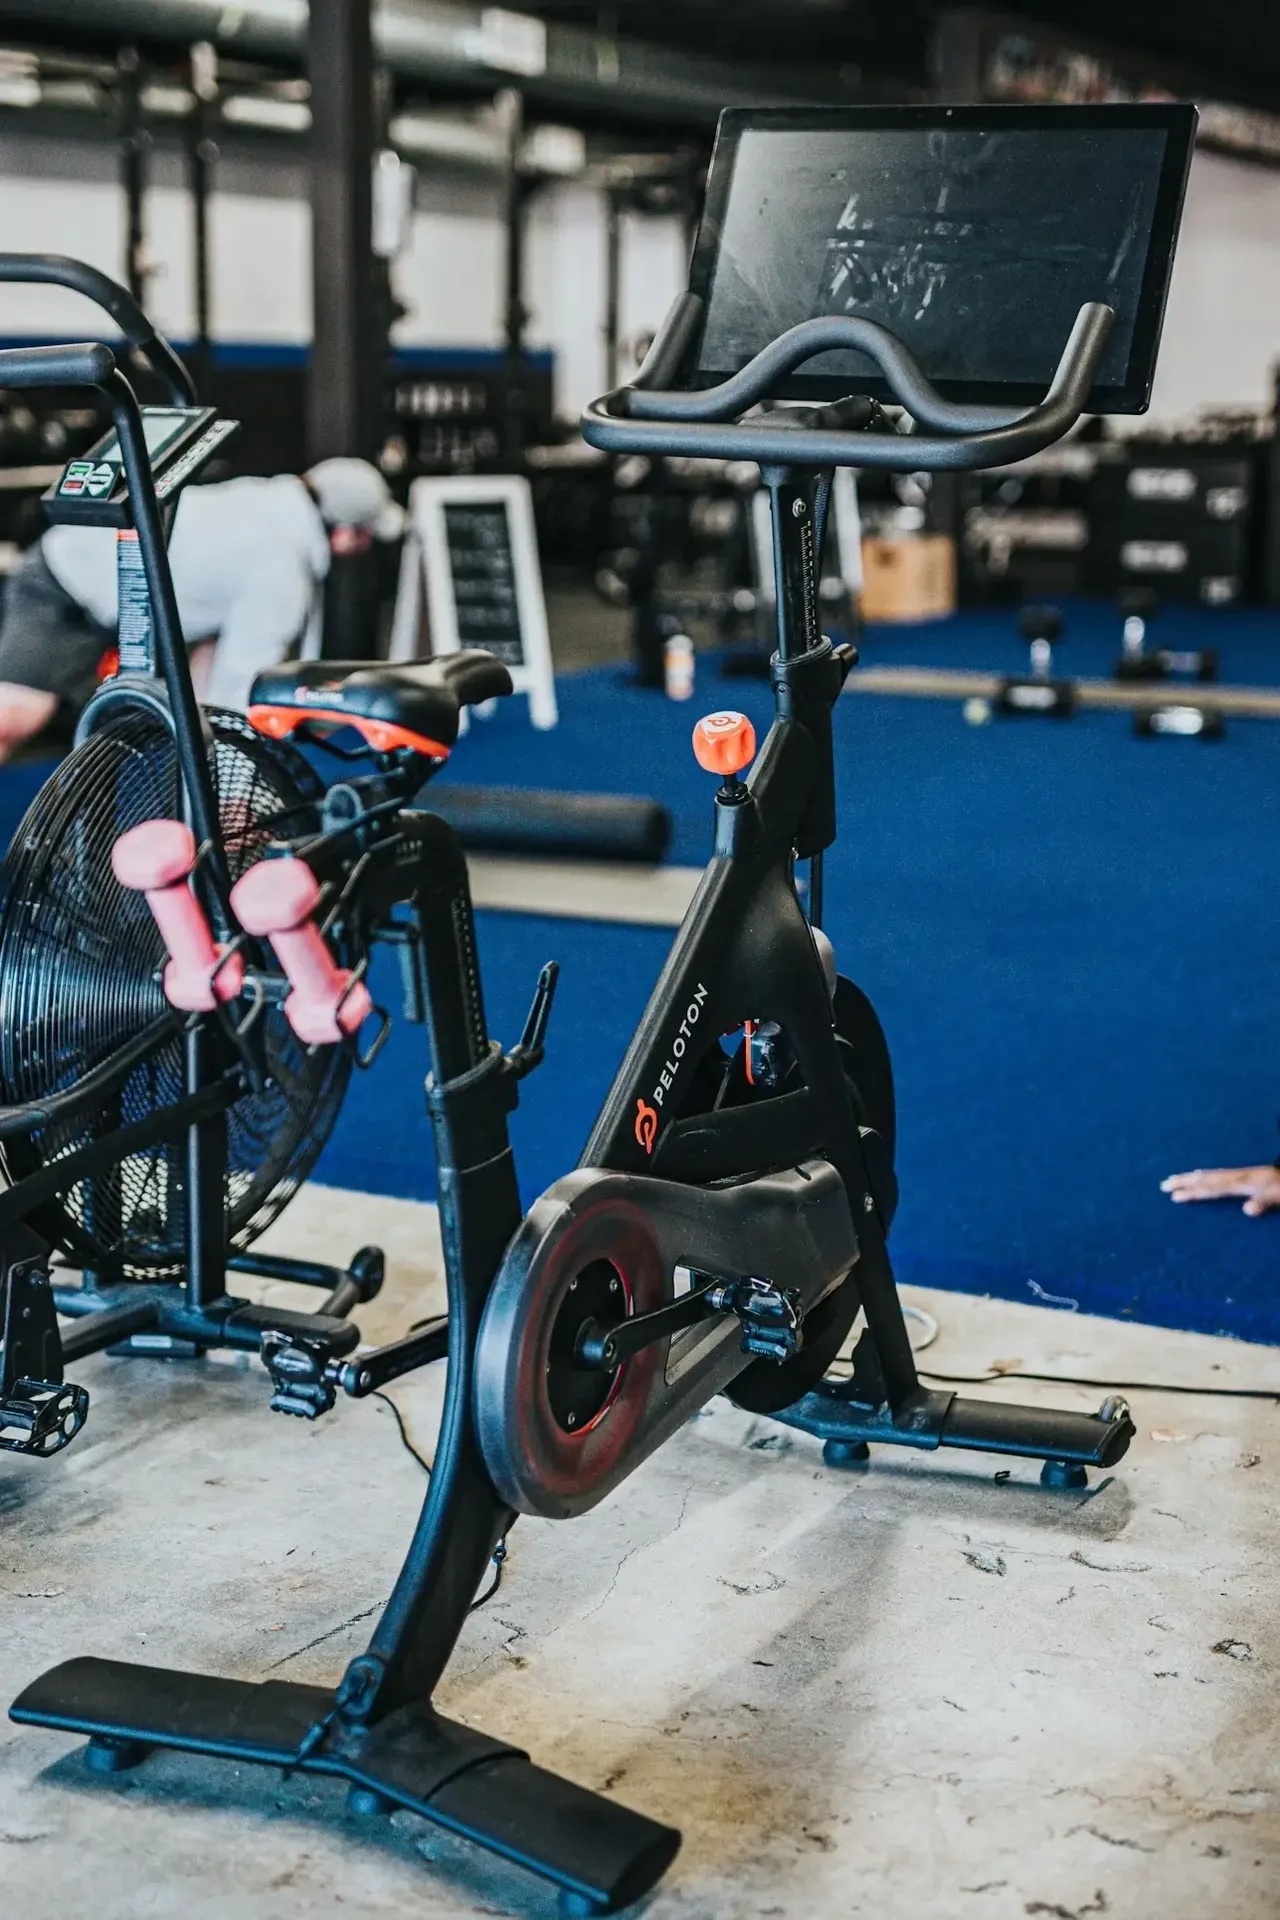
Indoor cycling training is not a fallback for bad weather. Used well, it gives serious riders a controlled place to build fitness, sharpen pacing, and repeat high-quality sessions without traffic, terrain, or coasting changing the workload.
Quick Take
- Use power, heart rate, and perceived effort together; power guides the session, while heart rate and RPE show how your body is responding.
- Most riders progress best with plenty of easy aerobic work, a small dose of hard intervals, and enough recovery to absorb both.
- A direct-drive smart trainer can improve workout precision, but good programming matters more than buying the most expensive setup.
- Pedaling drills and strength training are useful additions when they support, rather than crowd out, consistent riding.
- Indoor sessions feel harder because there is less cooling and almost no coasting, so hydration, fans, and pacing matter.
What Makes Indoor Cycling Training Different?
The main advantage of indoor cycling training is repeatability. A 4-minute interval at 105% of FTP is not interrupted by a stop sign. A Zone 2 ride can stay steady for the full hour. When you want to compare one workout to another, the trainer gives you cleaner data than most outdoor routes.
That precision cuts both ways. Indoors, you rarely coast, airflow is limited, and small increases in room temperature can raise perceived effort quickly. Without a strong fan, fluids, and realistic expectations, a workout that looks moderate on paper can become unnecessarily stressful.
For performance-focused riders, the goal is not to make every trainer session brutal. Use the environment for what it does best: controlled aerobic volume, clean interval execution, and technical practice that is hard to isolate on the road.
Choose Indoor Cycling Equipment That Improves Training Quality
A direct-drive smart trainer is the best upgrade if you care about structured workouts. It removes the rear wheel, connects your bike to the trainer cassette, and can automatically adjust resistance during intervals. That makes it easier to hold target power without constantly shifting or staring at the screen.
Accuracy claims vary by model, setup, calibration, drivetrain condition, and firmware. Instead of chasing a single marketing number, look for consistency. Your training zones can still be useful if your trainer reads a little high or low but behaves the same each week.
At minimum, a serious indoor setup should include:
- A stable trainer or smart bike that fits your current bike position.
- One or two strong fans aimed at your torso and face.
- A heart rate monitor to compare internal strain with power output.
- A mat, towel, and easy access to fluids.
- A plan or app that tells you exactly what the session is meant to accomplish.
If you are newer to structured endurance work, BeeFit’s guide to Zone 2 training explains the low-intensity foundation that makes harder cycling sessions more productive.
Build Your Indoor Cycling Training Week Around Easy Volume and Hard Intent
The most common mistake in indoor cycling training is turning every ride into a medium-hard grind. Those sessions feel productive, but they can leave you too tired for true high-intensity work. They also make it harder to build volume comfortably.
Many endurance athletes use a polarized or pyramidal approach: most time is easy, some is moderately hard, and a smaller portion is very hard. Research comparing training intensity distributions suggests polarized models can improve VO2 max and performance in some endurance athletes. Still, the evidence is not a universal rule for every cyclist, schedule, or training age. The practical takeaway is simpler: do not let every ride drift into the same gray zone.
A five-hour indoor week might look like this:
- Two 60-minute Zone 2 rides at a conversational effort.
- One interval session, such as 4 x 4 minutes hard with generous recovery.
- One 75- to 120-minute endurance ride with fueling practice.
- One short recovery spin or skills session if you feel good.
Use power to control the work, not to prove toughness. Heart rate rising unusually high for a normal wattage, poor sleep, heavy legs, or irritability are signs to reduce intensity. The research on polarized training is useful, but it still has to be applied to the rider in front of the screen.
Use FTP, Zones, and Intervals Without Overcomplicating Them
Functional Threshold Power, or FTP, estimates the highest power you can sustain near steady state for a prolonged effort. It is useful because it anchors your zones, but it is not your identity as a cyclist. Treat it as a programming tool, not a weekly judgment.
Test every six to eight weeks during a focused block, preferably after a lighter week. Testing too often can turn training into constant proving. If you are returning from illness, changing equipment, or starting structured indoor cycling training for the first time, give yourself several consistent weeks before expecting clean data.
Hard sessions should have a clear target. VO2 max intervals are short, uncomfortable, and designed to raise aerobic ceiling. Threshold work teaches sustained pressure near race effort. Sweet spot training can help when time is limited, but too much can accumulate fatigue quickly indoors.
For safety, introduce high-intensity interval training gradually, especially if you have cardiovascular risk factors, are new to exercise, or are returning after a long break. The American College of Sports Medicine’s HIIT guidance emphasizes appropriate progression and screening for people who may be at higher risk.
Improve Indoor Pedaling Skill Without Chasing Myths
Pedaling efficiency is often oversold. You do not need to “pull up” aggressively through the entire stroke. No single drill guarantees a fixed percentage improvement. Still, indoor riding is a useful place to smooth your cadence, reduce wasted movement, and notice where your stroke gets choppy.
Keep skill work short and low stress. During an easy ride, add 6 to 10 minutes of technique:
- High-cadence spin-ups: 20 to 30 seconds fast but controlled, then easy pedaling.
- Single-leg focus: keep both feet clipped in, but mentally emphasize one leg for 30 seconds at a time.
- Low-cadence strength endurance: 4 to 6 minutes at 60 to 70 rpm, moderate resistance, and no joint pain.
Low-cadence work should feel muscular, not like knee strain. If you have a history of knee pain, keep resistance moderate and prioritize normal cadence. A smoother stroke is helpful, but joint comfort matters more than forcing a drill.
Add Strength Training and Recovery Around the Bike
Cycling builds impressive endurance, but it is repetitive and mostly sagittal-plane. Strength training can support glutes, hamstrings, trunk stability, bone loading, and force production. A recent systematic review and meta-analysis on heavy strength training for endurance cyclists found likely benefits for some performance determinants. Programs appeared especially useful when they lasted at least several weeks and included lower-body strength work.
Two short sessions per week are enough for most riders during base or build phases. Prioritize squats or leg presses, Romanian deadlifts, split squats or lunges, rows, presses, and trunk work. Keep one or two reps in reserve on most sets so the gym supports your riding instead of stealing from it.
If you are older, injury-prone, or returning after time away, start conservatively. BeeFit’s strength training after 40 rules are useful even for cyclists under 40 because they emphasize consistency, joint tolerance, and repeatable progression.
Recovery is where indoor plans often fail. Trainer sessions are dense because there is little coasting, and heat stress raises the cost of the same workload. Fuel longer rides with carbohydrates, replace fluids, and take easy days seriously. For supplement decisions around soreness and repair, BeeFit’s guide to muscle recovery supplements separates useful options from overhyped ones.
Make Indoor Riding Mentally Sustainable
The best plan is useless if you dread the trainer. Match the entertainment to the purpose of the ride. Use races, group rides, or visual platforms for endurance sessions when motivation is low. For interval days, keep the screen simple and let the workout structure hold your attention.
Break long rides into blocks: warm-up, first endurance segment, cadence work, fueling check, second endurance segment, cooldown. Change hand position often. Stand briefly every 10 to 15 minutes if your bike fit allows it. Small adjustments reduce the static discomfort that makes indoor riding feel harder than the same duration outside.
FAQ
Is power better than heart rate for indoor cycling training?
Power is better for controlling intervals because it responds immediately. Heart rate is better for understanding internal strain. Use both when possible, and keep perceived effort in the conversation.
How long should my longest indoor ride be?
Most riders get plenty of benefit from 90 minutes to 2.5 hours indoors. Longer sessions can help, but they require deliberate cooling, fueling, position changes, and a reason beyond proving toughness.
Can indoor riding replace outdoor riding?
It can build fitness very effectively, but it does not fully replace handling, descending, cornering, group positioning, outdoor pacing, or terrain-specific demands. Use indoor cycling training as the fitness foundation and outdoor rides for real-world skill.
Indoor cycling training works best when it is precise, repeatable, and recoverable. Invest in cooling before complexity, protect your easy days, make hard sessions truly purposeful, and use strength work to support the positions and forces cycling demands.
This article is for informational purposes only and is not a substitute for professional medical advice, diagnosis, or treatment. Speak with a physician or qualified health professional before beginning a new training program, especially if you have cardiovascular risk factors, current injuries, or are adding high-intensity intervals.
Discover more from BeeFit: Fitness & Wellness
Subscribe to get the latest posts sent to your email.
Share :